Direct-Mount Window Box Installation Instructions
For Mounting Composite Window Boxes Directly to Walls
Disclaimer: This Installation Guide is for installation of our Direct Mount window boxes directly to the exterior of buildings that have wood, stucco, HardiBoard, vinyl or similar siding. It’s suggested you not work alone, use proper lifting techniques and exercise due caution in and around your work area. The instructions which follow are suggested guidelines only as the construction and condition of your walls may vary. A window box that is improperly installed may be a hazard and could potentially cause injury or damage to persons to your home. To ensure years of window box satisfaction and longevity, we recommend you have a licensed contractor or qualified handyman install or advise you. We of course respect your decision to DIY.
Overview/General
The guidelines which follow are designed for the most common forms of exterior siding used on homes - specifically wood, shake/shingle, stucco, HardiBoard or vinyl. These are all surfaces that are supported by wood studs on the inside of the wall.
• If you are mounting into solid brick we suggest you use standard lag shields to accompany your lag your bolts and mount directly into the bricks themselves.
• If mounting into block or hollow-brick blocks we recommend you mount into the mortar as blocks and brick blocks may crumble if not adequately filled with concrete/mortar on the inside of the block.
Tools Needed
• Drill with 1/4" drill bit (for pilot holes for 3/8" Lag Bolts).
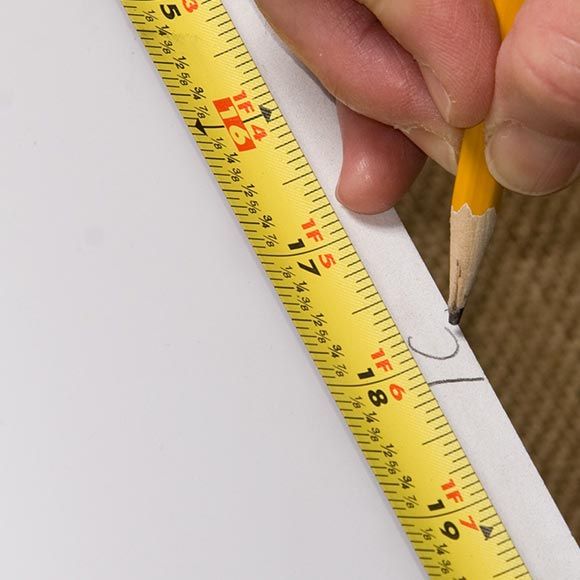
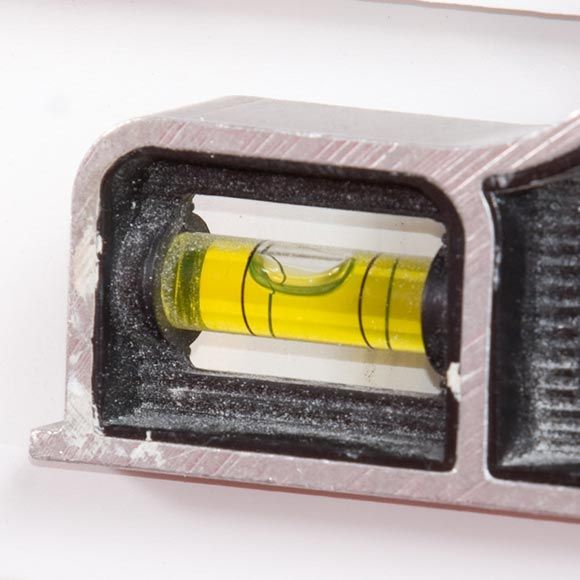
• 4' Level and Pencil to mark box and wall.
• Tape Measure.
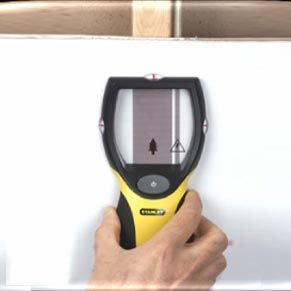
• Stud Finder (Electronic or Magnetic).
• Other methods exist to find studs such as tapping wall with hammer head - a deep, hollow sound indicates no stud, keep tapping until sound changes to higher more solid sound.
• Socket Wrench (Sized for bolts used)
Materials
• Composite Window Box (e.g.Cellular PVC styles from Hooks & Lattice)
• Lag Bolts (3 ½” Length by 3/8" diameter recommended)
• For 24’, 30’ or 36” Length Boxes use 2 bolts into studs.
• For 48” Boxes use 3 bolts into studs.
• For 60” or 72” boxes use 4 bolts into studs
• One washer per bolt - positioned between bolt head and inside of window box.
1. Identifying and marking the location of your wall studs
Using a Stud Finder (image), locate the studs on your wall in the area that you will be mounting your window box. Electronic or magnetic stud finders can be found at most local hardware stores. Simply drag the stud finder across the wall and look for the stud finder to signal the stud location. Most wood studs are found 16” on center but stud spacing underneath windows is varied and not always predictable. It is recommended that you mount your window box to as many studs as practical. When studs are found, mark lightly with pencil either on the window sill or directly below it (many people put a small "S" on their sill or wall to differentiate the stud locations from the center of the window which will be marked with a “C” in Step 2)..
2. Centering the Window Box under window
Once your supporting wall studs are found and marked, measure and mark the center of your window (mark this center-point on the sill or right below the sill with a “C”). Separately, with the box on the ground and using your tape measure, find and mark the center of your window box with a small “C” on the top edge of the back of the box.
With a partner, hold the window box up to the wall so that the “C” on the box matches the “C” on the sill. Once the “C’s” are aligned, step back and ensure you like the way the box is centered below the window. Adjust to your taste if necessary.
While holding the box to the wall with the two “C’s” aligned - mark on the top edge of the back of the box where the corresponding stud locations are on the wall. These will be the locations for you to drill pilot holes in the back of your window box (Step 4).
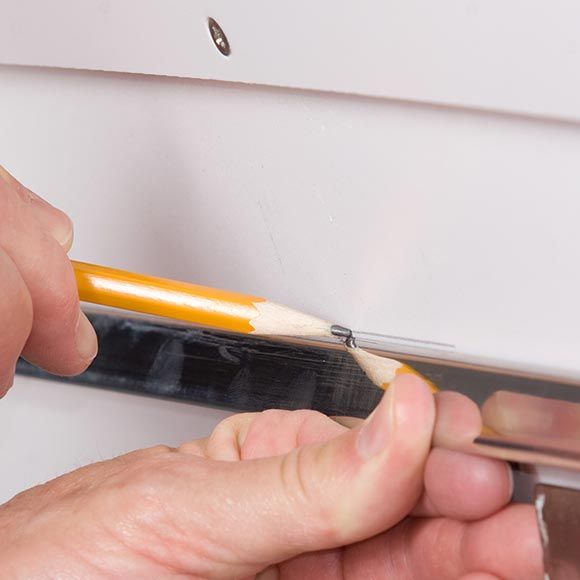
3. Determine box height locations and draw a level line
Locate on your wall where you would like the top of the window box to rest. Mark this box top height and using your 4’ level draw a horizontal line across the wall.
4. Bore pilot holes into back of box
Using a drill bit slightly smaller than the diameter of the bolts you will be using, drill a pilot hole into the back of the window box 2-3 inches down from the top of the box in-line with each “S” you have marked on the top edge of your box (drill holes from the outside in and drill the holes level to each other). Once drilled, these holes should ensure that the bolts will hit the studs while keeping the box centered below the window. It doesn’t matter if the holes in the back of the box are spaced unevenly – what matters is that they are spaced properly to hit each of the studs.

5. Mark and bore pilot holes into wall
Once drilled, hold the box back up to the window aligning the two “C’s” that represent the center of the box and the center of the window. Using a pencil, nail or drill bit - from the inside of the box, mark the wall through the pilot holes in your box. Make sure the marks on the wall still align with your studs marked previously on your sill. Drill pilot holes into the wall.
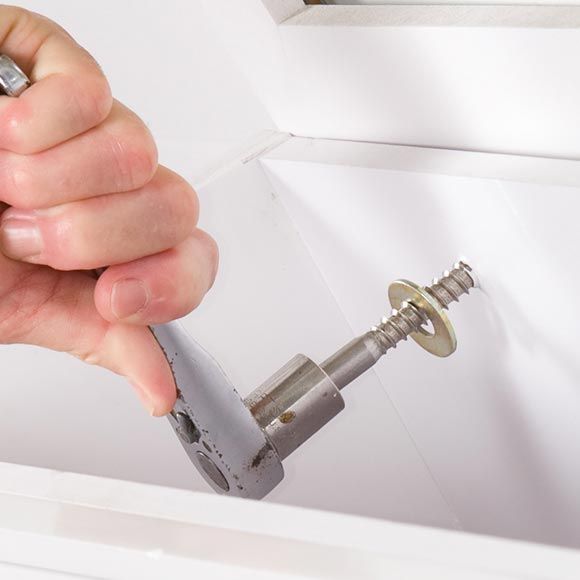
6. Secure Lag Bolts from inside-back of the Window Box into Wall
With the washer between the bolt head and the box, secure the lag bolt through your pilot hole until your window box is securely fastened to your wall.