
Fiberglass Window Box Installation Instructions

Disclaimer:This Installation Guide is for the installation of window boxes on the exterior of buildings that have wood, stucco, HardiBoard, vinyl, brick, stone, or masonry. It is suggested that youdo not work alone, use proper lifting techniques and exercise due caution in and around your work area. The instructions which follow are suggested guidelines only as the construction and condition of your walls may vary. A window box that is improperly installed may be a hazard and could potentially cause injury or damage to persons or your property. To ensure years of window box satisfaction and longevity, we recommend you have a licensed contractor or qualified handyman install or advise you.
General Overview
The guidelines which follow are designed for the most common forms of exterior siding used on homes -specificallyWood, Shake/Shingle, Stucco, HardiBoard or Vinyl. If you are mounting your box into Brick, Stone, Masonry or Block -mounting these boxes requires use of lag shields for proper mounting. Shipping Protection: Window boxes 36" or longer include a knock-out center brace to maintain shape during transit. You can leave it in place or easily remove it with a tap of a hammer.
Required Tools
•Drill & ¼" drill bit (& 5/8" drill bit for brick or masonry siding)
• Level, tape measure & pencil
• Stud finder-electrical or magnetic (Other methods exist to find studs-tapping wall with a hammer head; a deep, hollow sound indicates a stud)
• Socket wrench
• Hammer or mallet for inserting lag shield (if needed)
Materials
• Fiberglass Window Box
• Lag Bolts (3 ½" length 3/8" diameter)
• Brick or masonry mounting also requires 5/8" diameter lag shields
• For 26"-42" boxes, use 2 brackets into studs(included in packaging)
• For 48"& 54"lengthboxes,use 3 bracketsinto studs
• For 60"& 72" length boxes, use 4 brackets into studs
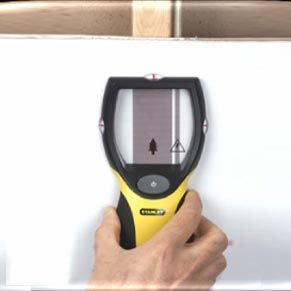
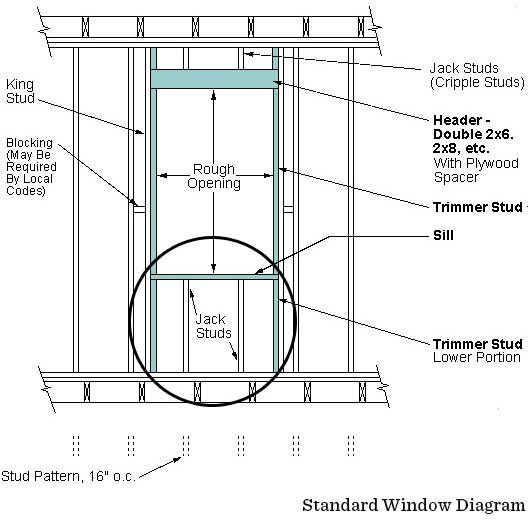
1. Locate and mark the studs in the wall beneath the window framing
Using a stud finder (see image), locate and mark the studs on your wall in the area that you will be mounting your window box. Most studs are found 16" on center but stud spacing underneath windows is varied and not always predictable. It is recommended that you mount your window box to as many studs as practical.
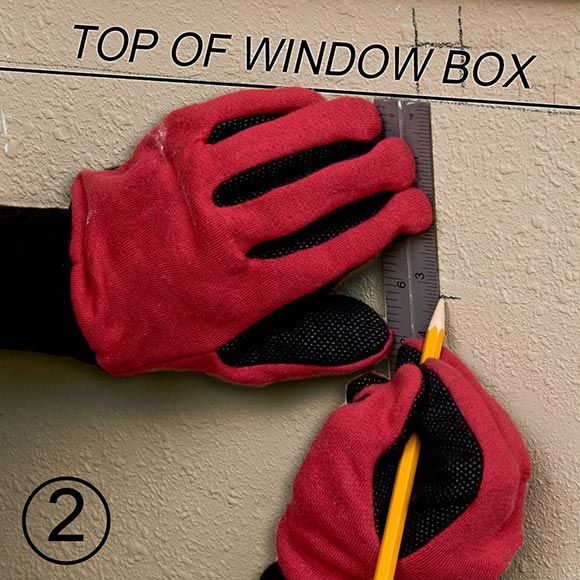
2. Determine how far below the window you want the top of the window box to rest and draw a level, horizontal line.
There is no "right" or "wrong" way to position the box; it is strictly to your taste. If you have a water-ledge as part of your window sill, make sure to provide adequate clearance beneath the ledge to allow the box to be removed from the cleat. With the line as your reference point, draw a parallel line 2 ½" below this level. This is where you will align the top edge of your cleat.

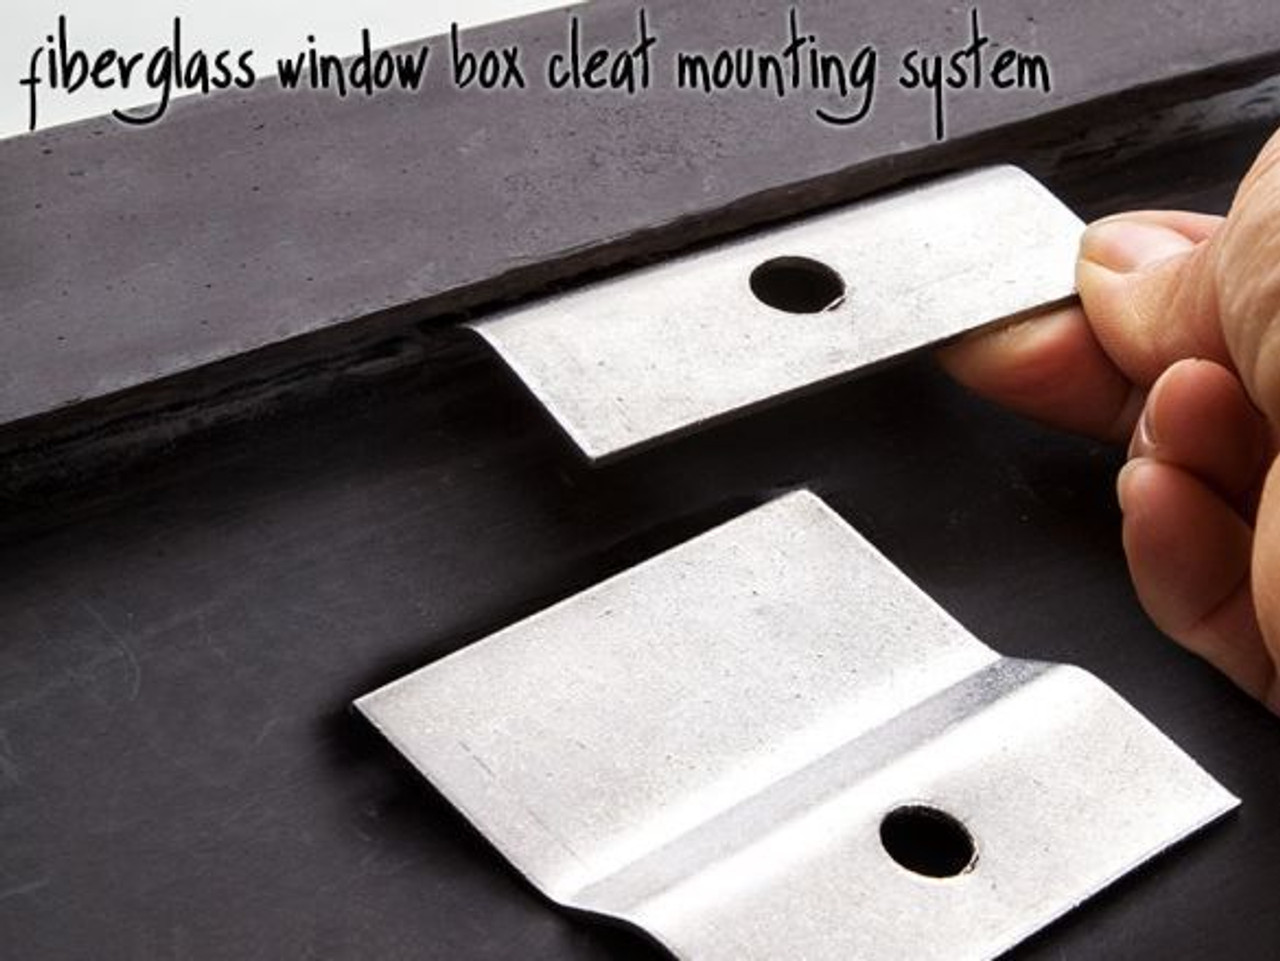
3.Hold the cleat brackets centered beneath your window so that the top of the cleat aligns with the second lower line.
Make sure to face the cleat so there is a gap between the bracket and the wall and the hole is against the wall. The size of your box determines how many brackets or bracket sets you need to hang your box. Refer to "Materials" above to see if you received the appropriate amount of brackets.
4a. For brick, stucco, or concrete use a 5/8" masonry bit to pre-drill holes into the mortar for the lag shield.
Insert a lag shield into hole and tap into place so that it's flush with the surface. Install bolt and bracket and tighten firmly. NOTE: To seal masonry, it helps to squeeze a small amount of silicone caulk into the hole before installing lag shield.
4b. For wood, vinyl, or aluminum siding use a 5/16" bit to pre-drill a hole for the 3" bolt.
Screw bolt through steel plate. If necessary, add flat washers to shim to keep bracket away from siding.
5. Hang your window box over the cleat brackets and enjoy!