
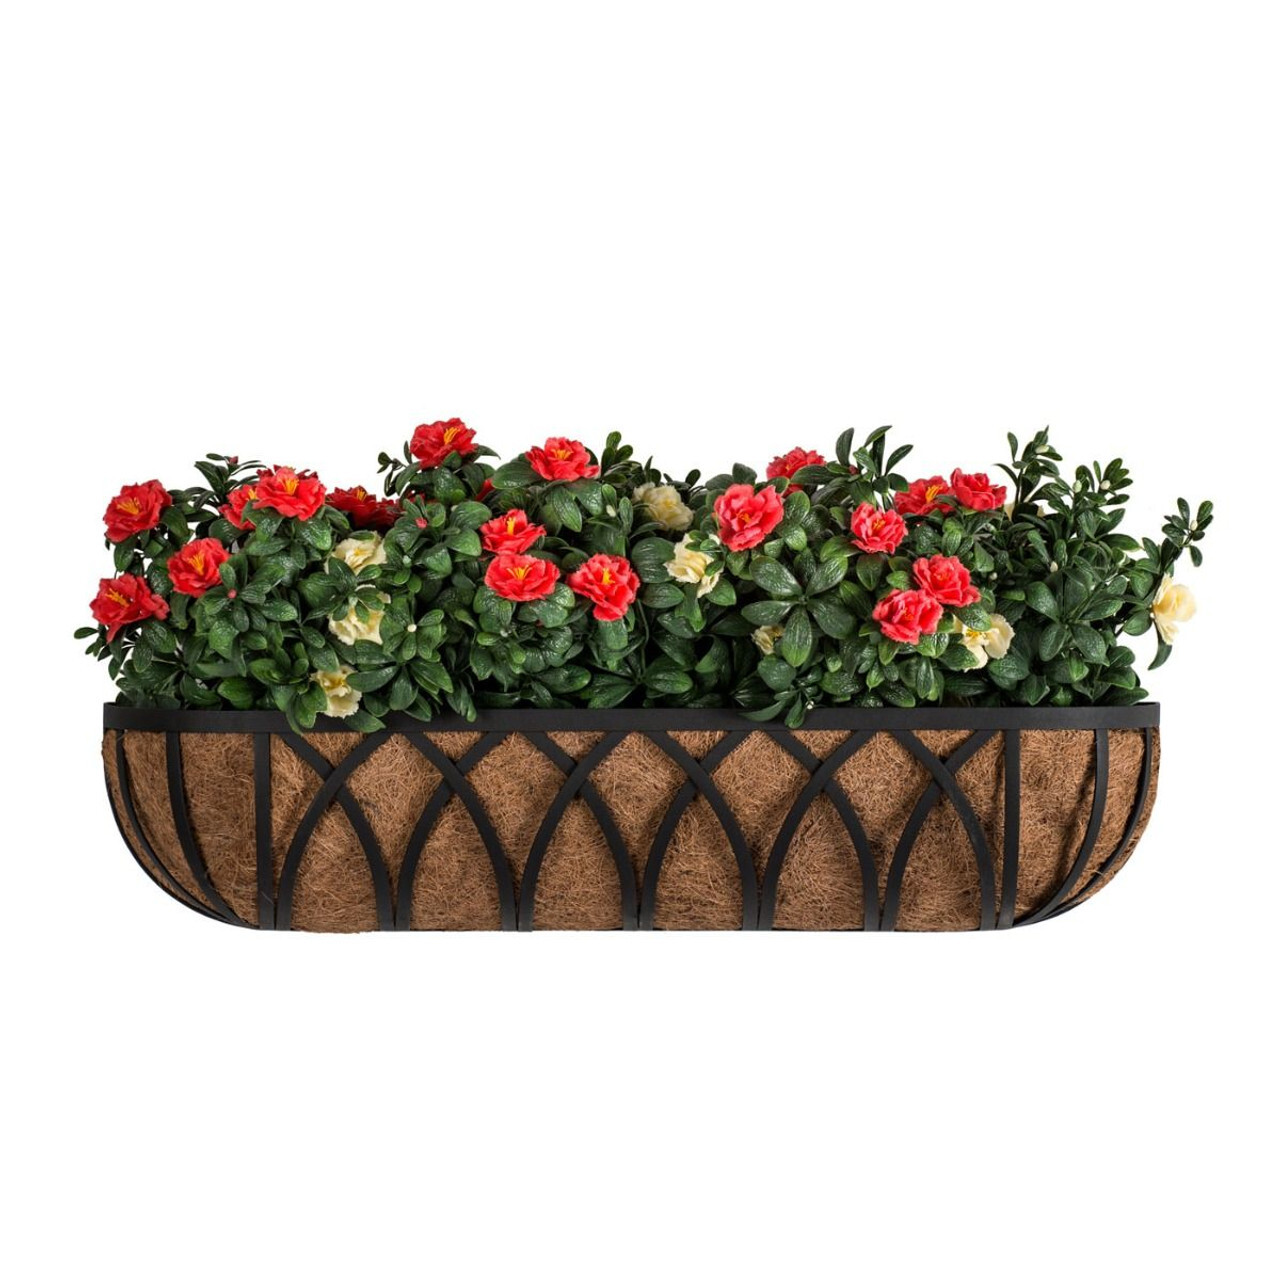
Installing Artificial Plants into Window Boxes and Planters

Create a Lifelike Floral Arrangement Using Expanding Foam
Looking to craft a durable and eye-catching window box display? Try this clever method using expanding spray foam as the base. Here’s how to do it:
1. Prepare Your Workspace
Start by covering your work surface with a protective drop cloth. Put on disposable gloves to keep your hands clean. Set your empty planter or box on a level area so it stays steady during the process.
2. Add the Foam Foundation
Shake the can of spray foam well. Carefully dispense the foam into the container, filling it only halfway. The foam will expand significantly, so leave room for it to grow.
3. Let It Set
Give the foam enough time to expand and harden completely. This usually takes between 8 to 12 hours, but curing times can vary based on temperature and humidity.
4. Apply a Natural-Looking Top Layer
Once the foam has cured, brush a light coat of wood glue over the surface. While the glue is still tacky, sprinkle natural elements like Spanish moss, dark potting mix, or worm castings to mimic soil. Let it dry thoroughly before moving on.
5. Add Your Floral Elements
Use a skewer, awl, or small drill bit to poke holes where you’d like to place your artificial stems. Add a dab of glue to each stem end and push it firmly into the foam. This will keep them securely in place.
Extra Tips for a Professional Look
Choose artificial plants rated for UV exposure if the arrangement will be outdoors.
Vary the heights of your flowers and greenery to add dimension and depth.
Place taller pieces toward the back and trailing or cascading elements near the front for balance.
Leave a few open spots if you want to refresh your display with seasonal items later on.